Have you ever thought about capturing rain that falls on your roof and putting it to use around your home?
Rainwater Harvesting For Beginners: What You Need To Start Collecting Safely
This guide shows you what you need to start collecting rainwater safely and practically. You’ll find clear explanations, setup steps, safety tips, sizing examples, and maintenance advice so you can make confident decisions.
Why collect rainwater?
Collecting rainwater can reduce your water bills, increase resilience during short supply interruptions, and lower demand on local water resources. It also gives you a free source of relatively soft water that can be ideal for outdoor use and many household needs when managed correctly.
Is it legal where you live?
Local rules and codes about rainwater harvesting vary widely across countries, states, and municipalities. You must check local building codes, water rights laws, and health regulations before installing a system to make sure you comply.
Common benefits and limitations
Benefits include lower utility costs, reduced stormwater runoff, and a backup water supply for non-potable uses. Limitations include upfront cost, maintenance needs, and sometimes regulatory restrictions or treatment requirements for potable use.
Basic components of a rainwater harvesting system
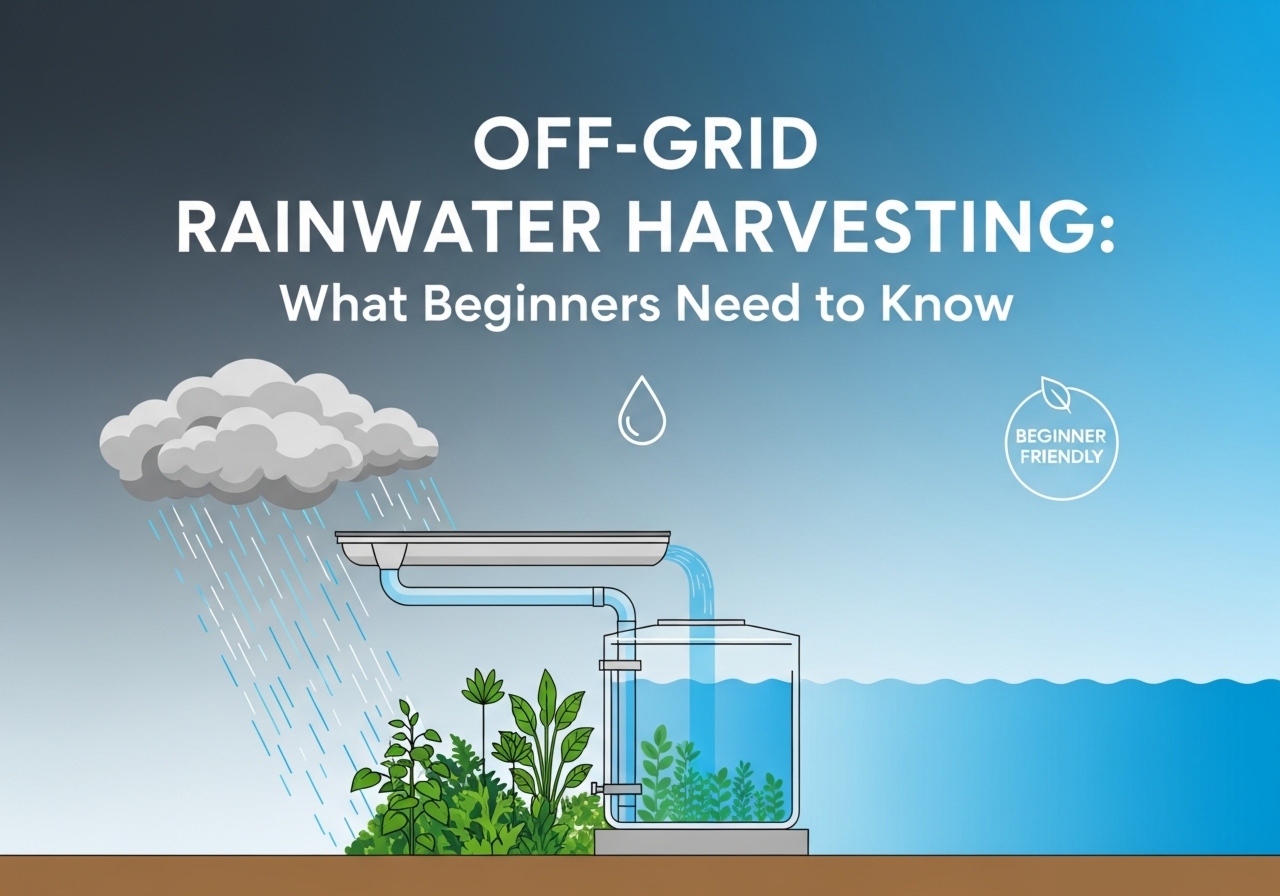
A typical rainwater harvesting system includes a catchment area, gutters and downspouts, pre-filtration / first-flush devices, storage tank, and distribution or treatment components. Each part has a role in collecting, protecting, storing, and delivering safe water for your intended uses.
Key components and their roles
You should know what each component does so you can design or buy the right system for your needs. Below is a simple table summarizing the main components and what they accomplish.
| Component | Purpose |
|---|---|
| Catchment surface (roof) | Captures rainfall and directs it into gutters. |
| Gutters & downspouts | Convey water from the roof to filters or storage. |
| Leaf screens & debris filters | Keep large solids and organic matter out of the system. |
| First-flush diverter | Diverts the initial dirty runoff away from storage. |
| Storage tank (cistern) | Stores collected water for later use. |
| Filtration & disinfection | Removes particles, microorganisms, and contaminants. |
| Pump & distribution | Moves water to where you need it at usable pressure. |
| Overflow & drainage | Prevents tanks from overfilling and directs excess water safely. |
Choosing a catchment surface
Your roof is the most common catchment surface, and its material and slope affect water quality and quantity. You should prefer smooth, non-toxic roofing materials (e.g., metal, tile) if you plan to use water for more than irrigation.
Roof materials and suitability
Different roof materials influence the suitability of water for different uses. For example, asphalt shingles can leach organics and are better for irrigation than for drinking unless treated; metal roofs are generally among the best for harvesting.
Roof area and orientation
You benefit from understanding how much roof area you have and which sections receive the most rain. Larger, well-oriented roofs capture more water, and south-facing areas might collect slightly different amounts depending on your local microclimate.
Gutters and conveyance
Gutters and downspouts are the channels that carry roof water to your storage tank, and their size and slope matter for efficient flow. You should install leaf guards and keep gutters clean to minimize debris entering the system.
Selecting gutter type and size
Choose gutter sizes based on your average rainfall intensity and roof area to avoid overflow during heavy storms. Standard residential sizes often work, but higher-capacity options may be needed if you live in a high-intensity rainfall region.
Installing gutter protection
Screens, hooded gutters, and gutter guards help reduce the amount of leaves and twigs in your system. You should still inspect and clean guards periodically because some debris will still accumulate.

First-flush diverters and pre-filtration
A first-flush diverter removes the initial volume of runoff that carries most of the contaminants from the roof. You should use a properly sized diverter and additional screens to capture sediments before water reaches the tank.
How much to divert
A typical guideline is to divert the first 0.5 to 2 gallons (2 to 8 liters) per 100 square feet (9.3 m²) of roof area, but local conditions change that number. You should size the diverter based on roof area and how dirty your roof and surrounding environment are.
Types of pre-filters
Pre-filters include mesh screens, vortex filters, and sedimentation chambers. You should select a filter that balances ease of maintenance with the level of debris removal you need.
Storage tanks: types and materials
Storage tanks, also known as cisterns, come in plastic (polyethylene), fiberglass, concrete, and metal. Each material has advantages and trade-offs in cost, durability, water quality, and installation complexity.
Tank material pros and cons
Plastic tanks are lightweight and cheap but can degrade in UV over many years unless treated. Concrete tanks are durable and provide stable temperatures but are heavy and more expensive to install. Metal tanks can be strong and suitable for large capacities but may require coatings to prevent corrosion.
| Tank material | Pros | Cons |
|---|---|---|
| Polyethylene (plastic) | Lightweight, affordable, easy to install | Can degrade from UV, limited large sizes |
| Concrete | Durable, long-lasting, inert | Heavy, high installation cost, may leach alkalinity |
| Metal (galvanized/steel) | Strong, available in large sizes | Corrosion risk, more expensive coatings needed |
| Fiberglass | Corrosion-resistant, lightweight | Higher cost, potential for damage if handled poorly |
Aboveground vs. underground tanks
Aboveground tanks are easier to install and maintain; underground tanks save space and keep water cooler. You should consider your site constraints, frost risk, and vehicle load zones when choosing location and type.
Sizing your system: how much water will you collect?
Sizing depends on roof area, rainfall amount, and intended water uses. You should estimate monthly demand and available supply so your tank capacity matches realistic needs.
The basic yield calculation
A simple formula for monthly collection is: Volume = Rainfall (mm) x Roof Area (m²) x Runoff Coefficient. You should remember to convert units correctly and use a realistic runoff coefficient (commonly 0.8–0.95 for smooth roofs).
Example calculation (metric):
- Roof area: 100 m²
- Monthly rainfall: 50 mm
- Runoff coefficient: 0.85
- Volume = 50 mm × 100 m² × 0.85 = 4250 liters
You should repeat this calculation for each month to estimate seasonal availability and choose a tank size that balances storage cost with supply reliability.
Matching storage to demand and climate
If you use water mainly for garden irrigation, you can often get by with modest storage since supply is frequent in wet months. If you want year-round backup, you’ll need larger tanks and potentially treatment for potable uses. You should consider dry-season length and whether supplemental sources are available.
| Scenario | Recommended storage approach |
|---|---|
| Seasonal irrigation only | Moderate tank sized for peak growing season |
| Household non-potable uses | Medium tank with filtration and pump |
| Potable supply or year-round backup | Large tank with full treatment and redundancy |
| Emergency storage for drought | Additional storage or rainwater plus other sources |
Filtration and treatment for safety
Treatment depends on intended use. For irrigation, basic filtration and screens may suffice; for toilet flushing or laundry, you’ll want finer filters; for drinking, you need multi-stage treatment including disinfection and possibly advanced filtration.
Filtration stages explained
Typical stages include coarse screens, sediment filters, carbon filtration, and disinfection (chlorination, UV, or ozone). You should design each stage to remove specific contaminants: coarse filters for debris, fine filters for turbidity, and disinfection for pathogens.
Disinfection options and pros/cons
- Chlorination: inexpensive and effective but adds chemicals and requires dosing control. You should monitor residual chlorine.
- UV: chemical-free and effective against bacteria and viruses if turbidity is low. You should maintain lamps and ensure power availability.
- Ozone: strong oxidant, effective for taste and pathogens, but requires more complex equipment and safety controls. You should treat and decompose ozone residuals before use.
Water quality: what to test and why
You should test for physical, chemical, and microbiological parameters if you plan to use water for anything beyond simple outdoor irrigation. Regular testing ensures your system operates safely and meets health standards.
| Parameter | Why it matters | Typical guideline |
|---|---|---|
| Turbidity | Indicates particles that shelter microbes and reduce UV effectiveness | <1 ntu ideal for uv systems< />d> |
| E. coli / coliforms | Indicates fecal contamination and pathogen risk | 0 CFU/100 mL for potable use |
| pH | Affects corrosion and disinfectant effectiveness | 6.5–8.5 for most systems |
| Total Dissolved Solids (TDS) | Affects taste and suitability for appliances | Varies; high TDS may need treatment |
| Heavy metals (lead, zinc) | Toxicity risk from roofing materials or storms | Below local drinking water limits |
You should consult your local water authority for specific testing requirements and accredited labs for analysis.
Distribution: pumps, pressure, and delivery
If you need pressurized water inside the home, you’ll require a pump and possibly a pressure tank or booster. Selecting the correct pump type (submersible vs. surface pump) depends on tank placement and the volume/pressure you need.
Pump sizing basics
You should calculate required flow rate (liters per minute) and head (vertical height plus friction losses) to choose a pump with the right capacity. Oversized pumps can short-cycle and waste energy, while undersized pumps won’t meet demand.
Using gravity-fed systems
If your tank is elevated, you might rely on gravity to deliver water at modest pressure. You should ensure tank height provides the needed pressure and install a hose bib or pressure regulator as needed.
Overflow, drainage, and mosquito control
You should include a safe overflow route from your tank to direct excess water away from foundations and into storm drains or soakaways. You should also use screens and sealed fittings to prevent mosquitoes and other pests from entering storage.
Mosquito-proofing tips
Mesh screens on inlets and vents, sealed lids, and regular maintenance minimize mosquito breeding. You should avoid standing open water nearby and consider biological controls if necessary.

Maintenance schedule and troubleshooting
Regular maintenance keeps water safe and systems functional. You should plan inspections and simple tasks at intervals to catch problems early and extend system life.
Typical maintenance tasks
- Monthly: check gutters and screens, inspect for leaks.
- Quarterly: clean first-flush diverter and pre-filters, inspect pump operation.
- Annually: flush tank if needed, test water quality, service pumps and disinfection systems.
| Task | Frequency | Why it matters |
|---|---|---|
| Gutter cleaning | Monthly to quarterly | Prevents debris entering tank |
| First-flush maintenance | After heavy storms / quarterly | Ensures proper diversion of contaminants |
| Tank inspection & cleaning | Annually | Removes sediment and biofilm buildup |
| Water testing | Annually or more often for potable use | Confirms safety and treatment performance |
| Pump & filter servicing | As recommended by manufacturer | Ensures reliable operation |
You should document maintenance in a log so you know what was done and when.
Seasonal and climatic considerations
Your system must be designed for local climate, including freeze protection, monsoon rains, or long dry seasons. You should choose tank placement and materials with climate resilience in mind.
Freeze protection and insulation
In cold climates, you should install tanks below frost depth or insulate and heat elements for aboveground tanks and pipes. Pumps should be drained or insulated to avoid freeze damage.
Managing heavy rainfall and storms
You should size gutters and overflow safely and use robust anchoring for tanks in flood-prone areas. For areas with intense storms, oversizing gutters and including debris traps is wise.
Costs and budgeting
Initial costs vary by system complexity, tank size, materials, and whether you DIY or hire professionals. You should budget for installation, filtration, pumps, and regular maintenance rather than just the tank price.
Typical cost ranges (approximate)
- Small DIY barrel system: low hundreds of dollars. You can set up a basic rain barrel with minimal tools and materials.
- Mid-size residential system (1,000–5,000 L): several thousand dollars. This typically includes a larger tank, basic filtration, and a pump.
- Full-house potable-ready system: $5,000–$20,000 or more. This involves certified treatment systems, larger tanks, and professional installation.
You should obtain multiple quotes and consider long-term savings on water bills when evaluating payback.
A simple step-by-step DIY starter system
If you want to start small, you can set up a basic, effective system using common parts. You should begin with a clear plan and follow local guidelines.
- Measure your roof area and check local regulations. You should know permitted uses and any required permits.
- Install or clean gutters and add a leaf screen. You should ensure water can flow freely without large debris.
- Add a first-flush diverter sized for your roof. You should direct initial runoff away from tank connections.
- Connect a food-grade rain barrel or small cistern to downspout with a screened inlet. You should ensure the container is sealed except for screened vents.
- Fit an outlet with a spigot and overflow plumbing. You should include a secure lid and mosquito-proofing.
- If needed, add a small pump and an inline filter for garden watering or house use. You should match pump performance to your needs.
You should test the system during a storm and adjust as needed.
When to call a professional
Call a licensed plumber or rainwater professional if you plan to use rainwater for indoor potable supply, need large tanks installed, or face complex site constraints. You should rely on professionals for regulatory compliance, electrical work, and advanced treatment installations.
Choosing a qualified installer
Look for installers with experience, references, and knowledge of local codes. You should request written proposals, warranties, and maintenance guidance.
Common mistakes and how to avoid them
Beginners often undersize tanks, neglect filtration, or fail to account for seasonal variability. You should plan realistically, size for the longest dry period you want to cover, and maintain the system regularly.
Mistake examples
- Putting the tank in an inaccessible location where maintenance is difficult. You should choose an accessible site to ease inspections.
- Skipping a first-flush diverter or filters to save money. You should not shortcut basic protection because cleaning or treating contaminated water costs more later.
- Assuming harvested rainwater is immediately potable. You should treat and test before using it for drinking.
Health and safety considerations
If you want to use rainwater for drinking, you must treat it to meet potable water standards and test regularly. You should also protect tanks from contamination by animals, chemicals, and surface runoff.
Safe practices for potable use
Disinfection (UV/chlorine), fine filtration, and frequent testing are essential for potable supplies. You should also ensure proper plumbing separation from municipal supplies to prevent backflow contamination.
Integration with your landscape and home systems
You can integrate rainwater with irrigation controllers, graywater systems, and garden design to maximize benefits. You should plan plumbing, pump locations, and distribution to minimize energy use and complexity.
Using rainwater for irrigation efficiently
Connect harvested water to drip irrigation or timed controllers to match plant needs and reduce waste. You should automate irrigation for optimal water use during early morning or late evening.
Environmental and community benefits
Harvesting rainwater reduces stormwater runoff, lowers erosion risk, and eases pressure on municipal systems. You should also encourage neighbors and communities to adopt similar measures so cumulative benefits grow.
Potential community-level projects
Libraries, schools, and community gardens can host larger cisterns or shared systems to demonstrate benefits and reduce municipal loads. You should consider collaboration for cost-sharing and educational purposes.
Frequently asked questions (FAQ)
These are common questions you’re likely to have when starting a system. Answers will help you avoid pitfalls and get the most from your setup.
Can I drink rainwater straight from the tank?
No—unless you treat and test it to potable standards. You should use a multi-stage treatment approach and verify with laboratory testing before considering it safe to drink.
How often should I test water quality?
If you use rainwater for potable applications, test quarterly at first and then at least annually if stable. You should test more frequently after system changes or contamination events.
Do I need a permit?
Maybe—local regulations differ. You should check with your municipal building or water authority before installation.
How long will a tank last?
Lifespans vary by material: polyethylene tanks often last 10–20 years, concrete and fiberglass much longer if maintained. You should follow manufacturer maintenance recommendations to maximize lifespan.
Final tips for getting started
Start small and learn from experience, or plan a larger system if you need year-round supply. You should pay special attention to rooftop material, filtration, and local regulations to ensure safety and compliance.
Conclusion
Rainwater harvesting can be a practical, cost-effective, and environmentally responsible choice if you plan carefully and maintain the system. You should assess your needs, local rules, and available resources, then choose the components and treatment that match your intended uses so you collect and use rainwater safely and confidently.