Are you planning an off‑grid solar system for a cabin or tiny home and wondering how to size it correctly so you won’t run out of power?
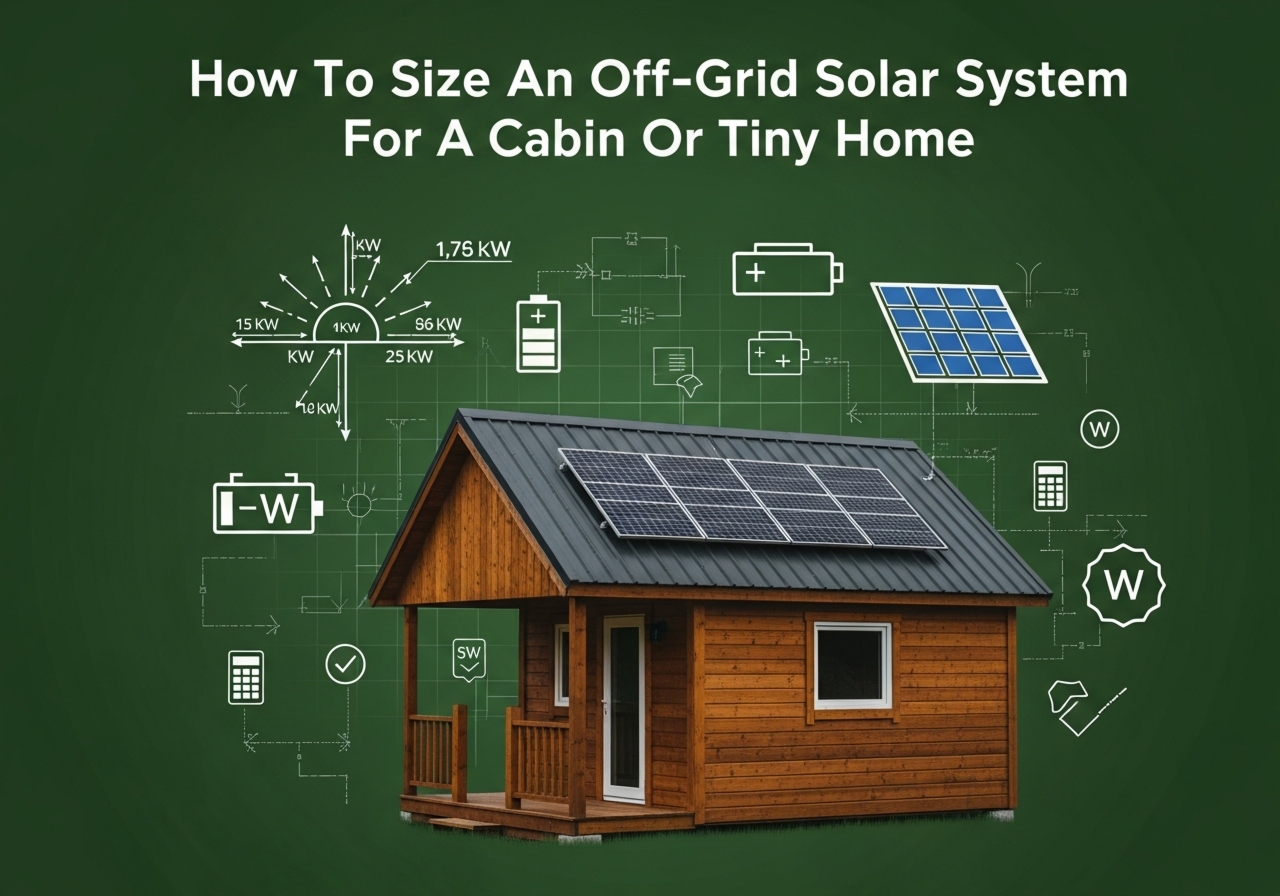
How To Size A Simple Off‑Grid Solar System For A Cabin Or Tiny Home
You’ll get a clear, step‑by‑step method to size a reliable off‑grid solar setup that matches your actual energy needs. The goal is to make the math approachable, avoid common pitfalls, and produce a system that keeps your lights on, refrigeration running, and devices charged without constant worry.
Why accurate sizing matters
If you undersize the system, you’ll run batteries flat or rely on a generator more than you want. If you oversize unnecessarily, you’ll spend more upfront and add complexity. Accurate sizing balances upfront cost, reliability, and simplicity so your tiny home or cabin has power when you need it.
Step 1 — Do an honest energy audit
You must start with a realistic list of everything you’ll power and how long each item runs daily. Small cabin improvements or bad habits can double your expected load, so be conservative.
- List every appliance and device.
- Note power draw in watts (from labels or product specs).
- Estimate hours of use per day for each item.
- Convert watts × hours to watt‑hours (Wh).
Example items to include: LED lights, refrigerator, water pump, laptop, phone chargers, small TV, fans, heater (if electric), microwave (if used), and any electrical tools.
Example small daily audit (for calculation illustration)
| Device | Watts | Hours/day | Wh/day |
|---|---|---|---|
| LED lighting (6 bulbs × 8W) | 48 | 5 | 240 |
| Mini fridge | 60 (average) | 12 | 720 |
| Water pump | 120 | 0.5 | 60 |
| Laptop | 60 | 6 | 360 |
| Phone charging (2) | 10 | 3 | 30 |
| Router | 10 | 24 | 240 |
| Misc small loads | 50 | 2 | 100 |
| Total | — | — | 1,750 Wh/day |
This sample comes to about 1.75 kWh per day. You’ll scale the math for your actual usage.
Step 2 — Convert daily load to usable battery capacity
Batteries are rated in amp‑hours (Ah) at a given voltage (usually 12V, 24V, or 48V). To size the battery bank, you’ll convert Wh to Ah for the system voltage and consider usable depth‑of‑discharge (DoD) and battery efficiency.
Formula:
- Daily Wh ÷ system voltage = daily Ah
- Desired days of autonomy × daily Ah = required Ah
- Adjust for DoD and battery efficiency: Required Ah ÷ (DoD × battery efficiency) = battery bank Ah
Example using 24V system:
- Daily Wh = 1,750 Wh
- Daily Ah = 1,750 ÷ 24 = 72.9 Ah
- Days of autonomy (no sun) = 2 → 72.9 × 2 = 145.8 Ah
- If using lead‑acid with usable DoD 50% (0.5) and battery efficiency 85% (0.85): 145.8 ÷ (0.5 × 0.85) ≈ 343 Ah
- Round up to a standard battery bank size: 400 Ah at 24V
If you choose lithium (LiFePO4), you can use deeper DoD (80–90%) and higher efficiency (~95%), reducing needed Ah.
Step 3 — Choose system voltage
You’ll select 12V, 24V, or 48V systems. Higher voltages reduce current for the same power, meaning smaller wire sizes and less loss. For systems above about 1,000–1,500 watts continuous or batteries larger than ~200 Ah, 24V or 48V is usually preferable.
- 12V: Simple, common for very small systems (<500 wh />ay).
- 24V: Good for small cabins and modest loads (1–3 kWh/day).
- 48V: Best for larger tiny homes or to minimize wire size and increase efficiency.
Choose a voltage and stay consistent across panels, charge controller, inverter, and battery bank.
Step 4 — Inverter sizing
The inverter converts DC battery power to AC for standard appliances. You’ll size the inverter for both continuous and peak (surge) loads.
- Continuous load: sum of all AC loads you expect to run at the same time.
- Surge (starting) load: motors, compressors, and pumps can draw 2–5× running watts when starting.
Pick an inverter with:
- Continuous rating ≥ total expected continuous watts.
- Peak (surge) rating ≥ largest motor start surge.
- Consider a safety margin (20–30%).
Example:
- Continuous loads may sum to 600 W.
- Fridge compressor surge = 1200 W start.
- Choose an inverter: 1500–2000 W pure sine wave (if budget allows).
Pure sine wave inverters are strongly recommended for sensitive electronics and motorized appliances.

Step 5 — Solar array sizing (how many panels)
You’ll size solar panels to replace daily usage and recharge batteries considering location, weather, and system losses.
Steps:
- Convert daily Wh to daily solar production needed considering battery/inverter losses.
- Adjust for system efficiency (inverter, battery, wiring): multiply daily Wh by 1 / system efficiency.
- Typical combined efficiency: 0.7–0.85 (70–85%) depending on components and conditions. Use 0.75–0.80 for conservative planning.
- Determine average peak sun hours (PSH) for your site by month. PSH is the equivalent full sun hours per day — e.g., 4 PSH means one 250W panel produces roughly 250W × 4h = 1,000 Wh/day (before losses).
- Solar array wattage needed = adjusted daily Wh ÷ PSH
- Add extra for derating factors (soiling, shading, temperature). Multiply array watts by 1.2–1.3 as buffer.
Example continued (using 1,750 Wh/day):
- Assume system efficiency 75% → 1,750 ÷ 0.75 = 2,333 Wh needed from panels.
- PSH (site average) = 4.0
- Raw array wattage needed = 2,333 ÷ 4 = 583 W
- Add 25% derate → 583 × 1.25 ≈ 729 W
- Choose panels: 3 × 250W = 750 W total
That array should produce enough on average but check seasonal low sun months and consider battery autonomy sufficient for cloudy stretches.
Table — Common PSH by general region (approximate)
| Region type | Typical PSH (average) |
|---|---|
| Northern temperate (cloudy, winter) | 2–3 |
| Mid-latitude (mixed climate) | 3–5 |
| Sunny arid (desert, high sun) | 5–7 |
| High latitude winter months | 0–2 |
Use a local solar map or PVWatts calculator for accurate PSH at your location and month.
Step 6 — Charge controller sizing
Your charge controller must handle the panel array voltage and current. MPPT (Maximum Power Point Tracking) controllers are strongly recommended because they extract more power from panels and allow higher panel voltages.
Sizing steps:
- For current: Controller current (A) ≥ array short‑circuit current (Isc) × safety factor (typically 1.25)
- For voltage: Controller must accept the open‑circuit voltage (Voc) of the panel array at the coldest expected temperature (Voc increases in cold). Ensure Voc_total